Sky Improvement
This article is covering some operations that intend to improve the color of the sky in the image. If you have a photograph with a cloudy sky, then probably the sky is gray and tasteless. We will try to make it decent at least. We aren't the gods, but we have some powers. And what is interesting, that technique leaves the clouds (if the exist in the image) and makes the sky more contrast and blue. As I mentioned before I use Photoshop 7.0, but this techniques should work in previous versions as well.
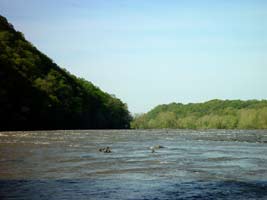
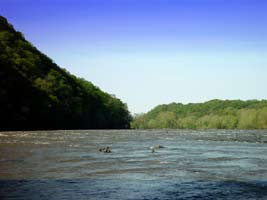
So, we have a bleak image with cloudy sky (or a hazy one).
Before doing any actions described further in the article, try to darken the blue and cyan colors in the photograph. To do so — in the main menu select Image, Adjustments, Selective Color, the dialog below will appear:
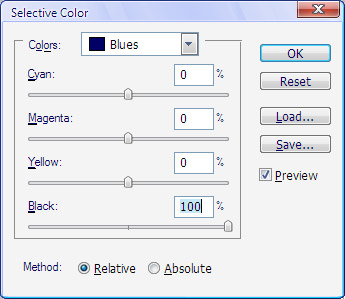
Now select Blue or Cyan colors (dominant ones) in the dropdown list and adjust the Black slidebar to 100% or so. If it didn't help try the following steps:
I will skip the operations with selection of the sky, because I described them in details in the article "Selection - Color Range", and you can see them here .
It means that after application of the operations described in the article, we will get the following selection:
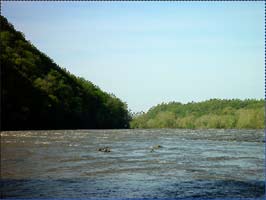
As you noticed, the sky is selected and is ready to be improved. There is only one point - we cannot change the background layer (it's not editable). So let's quickly turn it to the editable one:
- Double click on the background layer
- Type "Image" as the name for the layer
- Press OK
Now let's work on the sky. First we create a layer with a gradient fill:
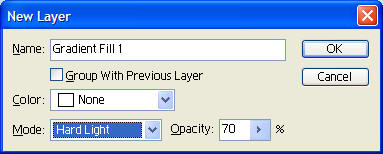
- Menu: Layer, New Fill Layer, Gradient. You will see the following dialog (on the left)
- Set the mode as "Hard Light"
- Opacity to 60-70%
- Press Ok
You have another dialog:
- Set the color from blue to white,
- The angle - 90 degrees (the blue color above white), which depends on the sun and camera positions,
- Set the Dither checkbox on
Now the image has a better sky: blue and bright. You can change the parameters of the new gradient layer to make the sky look more natural. Usually I change the Opacity. You as well may change the blending mode to "Hard Light" or "Soft Light".
Good Luck. ![[end of the text]](http://www.romanzolin.com/img/misc/text_end.png "End of the article")


- Font size:


