Gradient Level Corrections
In this article I want to cover an alternative way to apply level corrections to a selected area of a picture with fuzzy edges. This technique is based on applying gradient fill to a layer mask, through which we select the content of the layer to correct the levels. There is another way to reduce contrast of the image, which is described in Contrast Masking .
A few words about what I used: Photoshop 7.0 English (I am sure the technique works in version 6 and probably lower).
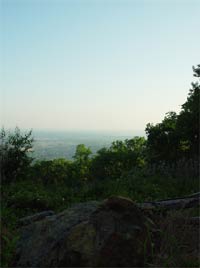
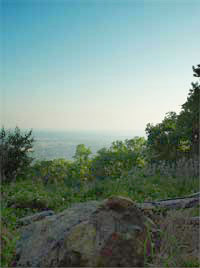
Now, go to the chase. I took a fairy primitive mountain view (see picture on the left), but the morning sky was too bright so the balance in the picture was broken. I wanted to make it better (darker and "juicy"). My first step was to correct levels for the whole picture but it didn't work.
The sky area has almost linear edge, so we can apply this "gradient level correction". First switch the background layer to a normal one:
- Double click on the background layer,
- Change name of the layer (optional),
- Press OK.
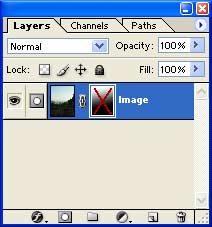
At this moment nothing has changed, only the background layer is became workable (we can create a mask). So, let's proceed with the mask:
- Select (activate) the Layer,
- Press a small icon with a circle within a square (menu: Layer, Add Layer Mask, Hide All). Now we have another white icon on the layer - a layer mask.
A few words about the layer mask. This mask (mode - Hide All) - allows you to make transparent (for the given layer) everything, which is colored as black By the way it allows you to use gradient transparency by using tones of gray. And such ability will be applied in the following steps.
~ Top ~Let's make transparent everything except the sky:
- Click on the mask icon (the layer icon will turn into a circle inside a square),
- Press "D" (to setup standard colors: black on white),
- Select Gradient Fill,
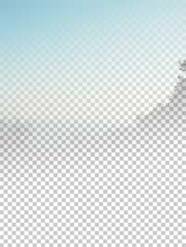
- Draw a line (for filling) from the top to the bottom, so the border of the front plane is a nit visible (see the left image below),
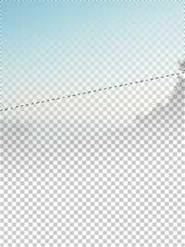
- Holding Ctrl click on the mask icon - you will select a part of the layer (the sky) (see the center image below),
- Holding Shift click one more time on the layer mask - the whole image will appear, but the selection will still be active (see the right image below),
- Finally, click on the image itself on the layer bar to switch to the image, not the mask.
At this moment everything is rather simple - the image with the selection. But the selection in this case doesn't have a straight border; even it is shown by a single line. Now we have to apply levels correction (or something more sophisticated - see other pages):
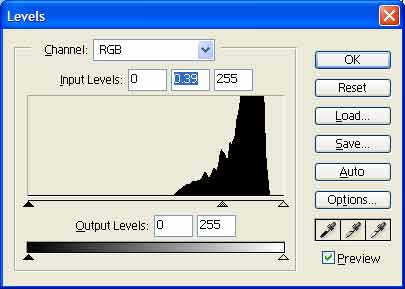
- Press Ctrl-L, to open the Levels dialog,
- Move the small gray triangle from the center to the right, to make the sky darker and press OK (see the picture on the right). As you see the levels are changing for the sky and slightly (eventually) for the border of the sky with the front plane.
- Deactivate the selection by pressing Ctrl-D and you have a better picture (see image below)
I hope this approach will help you to correct photographs, which are not always correctable by simple use of levels and curves. ![[end of the text]](http://www.romanzolin.com/img/misc/text_end.png "End of the article")


- Font size:


