Framing With Masks
The goal of this article is creation of the frames for photographs using layer masks. In this article I want to mention one of the function in Photoshop, which help you make sure that outer sides of the images are empty (i.e. the gradient that should lead to "the emptiness" is performed fully). This function is called Equilize. And as before I use Photoshop v7.0, which should not prevent you doing this technique in previous versions.
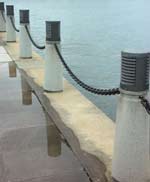
So as usual we have a picture and want to place it into a nice frame for web publishing or somewhere else.
Our first step is to turn the background layer into an editable one:
- Double click on the layer
- Change the name of the layer (optional)
- Press Ok
Next step to select part of the picture, which you want see in the frame. Leave more space for margins (the gradient from the picture to "the emptiness").
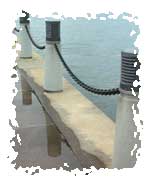
Now we can create a mask for the layer: click on the icon of a circle in a square (![]() ), which is at the bottom of the layer tab. You have to get something similar to the following:
), which is at the bottom of the layer tab. You have to get something similar to the following:
![]()
And then we create an empty layer and fill it with white (color of the frame):
- Click on the icon (
 ) to create a new empty layer,
 - Press "D" to set the foreground and background colors to black and white,
- Press "X" to exchange them (white on black),
- Press "Alt-Backspace" to fill the layer with white.
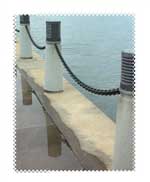
Move the new (white) layer under the layer with the image and activate the layer mask by clicking at the icon. You have to get the following situation with layers:
Next step will be applying filters to make the frame look nice. The selection of the frame is up to you. I will list just a few of them - use your imagination and play with it:
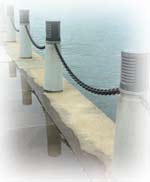


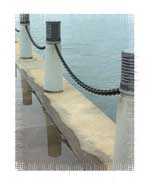
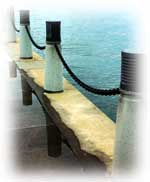
Here is one interesting detail that may be useful. If you create a new layer and fill it with black (only the part that relates to the image, not the border), and place it between the other two layers, you may get a similar effect as shown on the right:
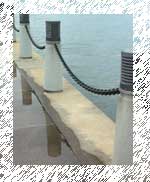
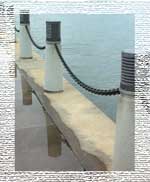
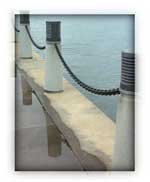
The frame is done, but it worth to check that the gradient transfer from the image to white is complete and there won't be visible edges along the border. To do so you apply "Equalize" command (menu: Image, Adjustments, Equalize). You will get similar to this:
As you see the lower edge is too close to the border. Just undo the last command (which is Equalize) and make necessary corrections. When finished check it again.
Good Luck. ![[end of the text]](http://www.romanzolin.com/img/misc/text_end.png "End of the article")


- Font size:


